Notebook server
Start a server
To start a Jupyter Server, log into ConvectHub and click “Start server” if you do not have one, or “My server” if a server already exists.
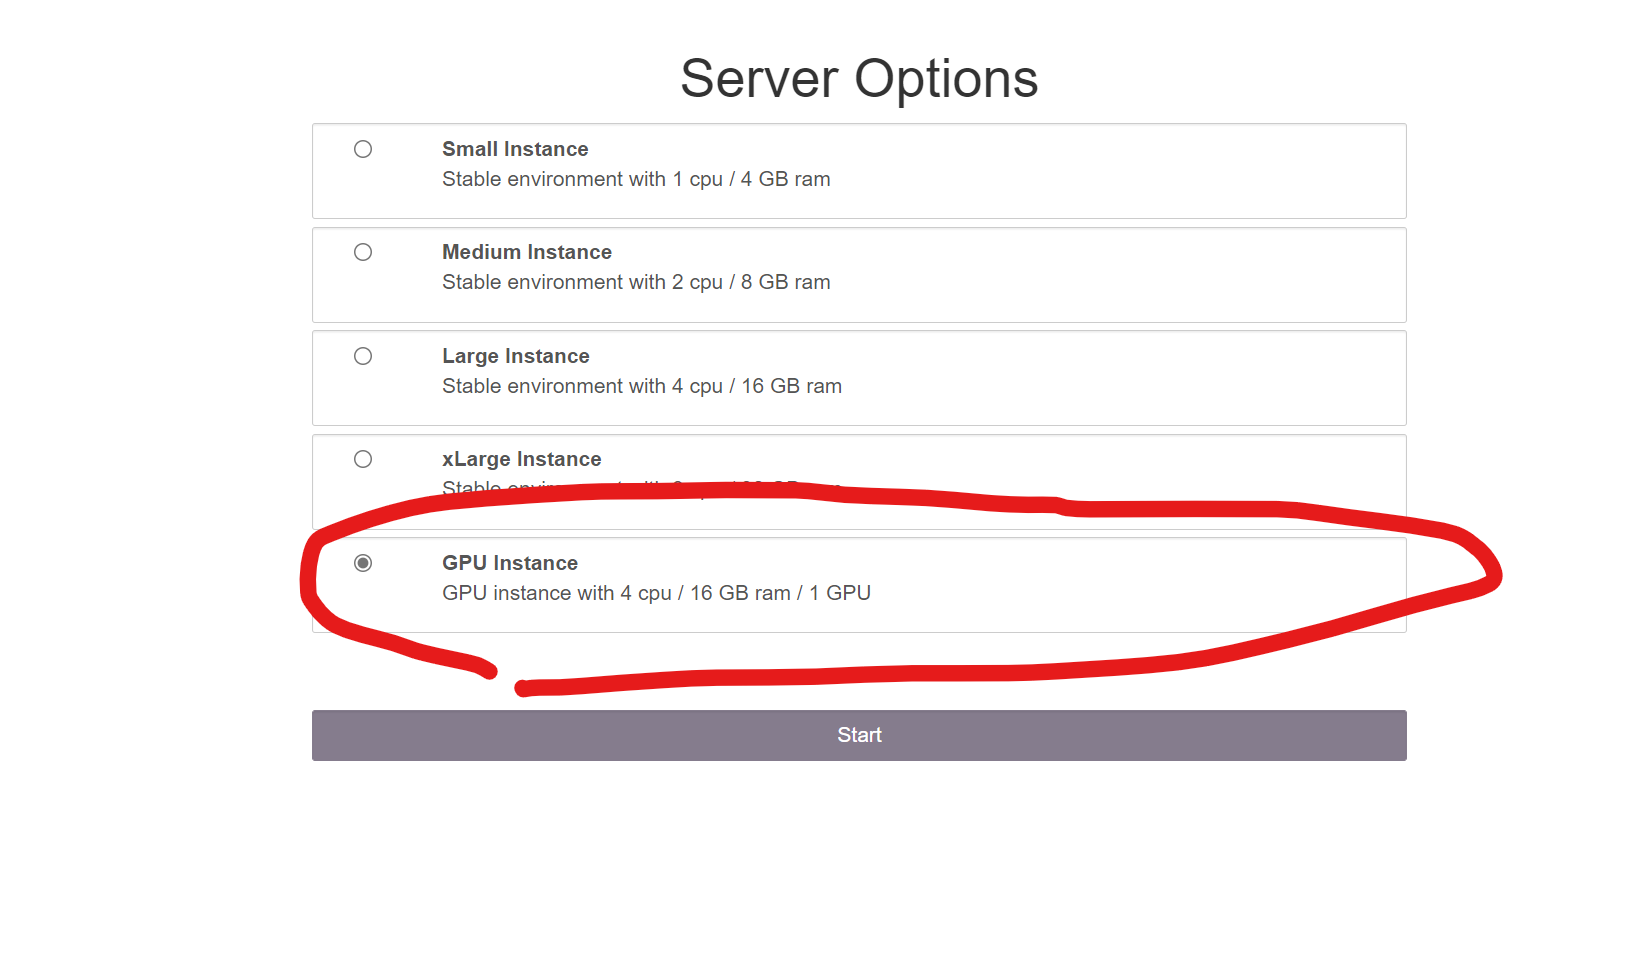
Once prompted, choose the specifications of the server that suits your need.

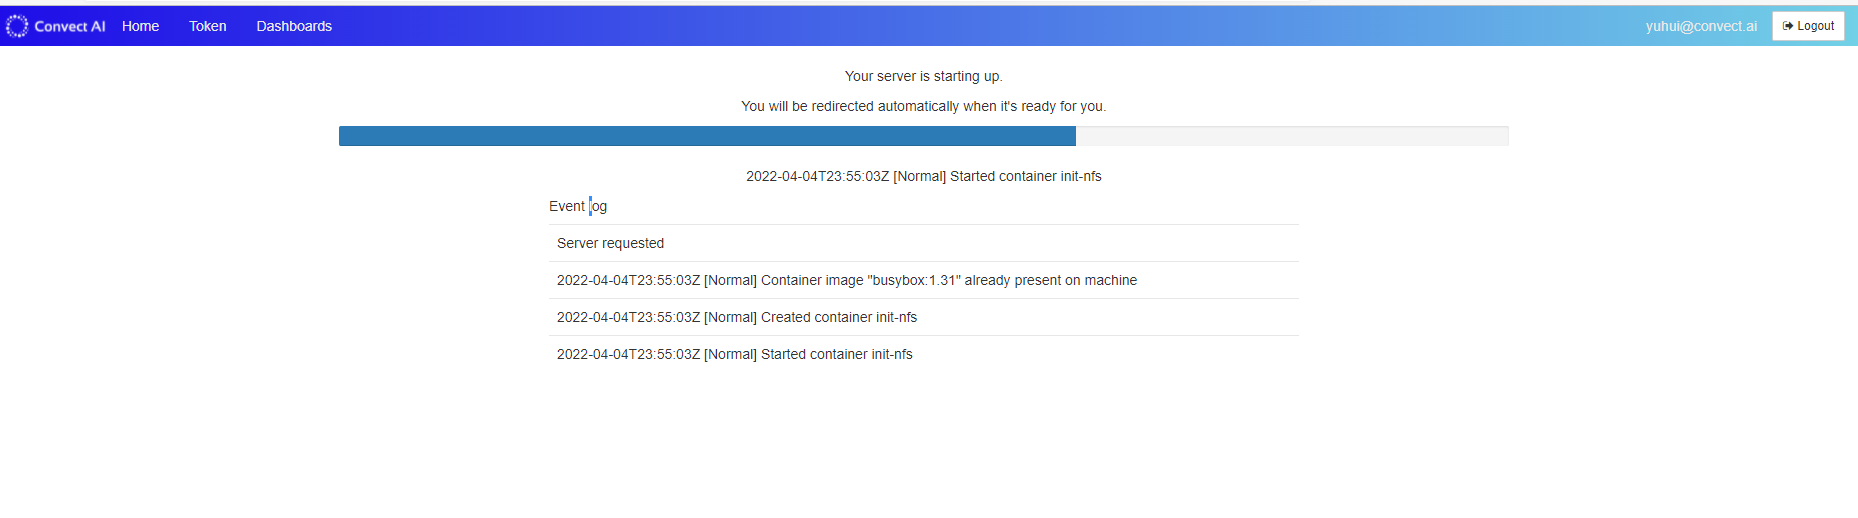
Wait until the server is started, you will be automatically redirected to it.
You can use the server as a normal JupyterLab environment.

GPU instances
To start a Jupyter Server with GPU, when prompted with the server specifications, choose the one with GPU.
Once you are redirected into the server, launch a terminal app, execute nvidia-smi and you will see the GPU you are assigned to.
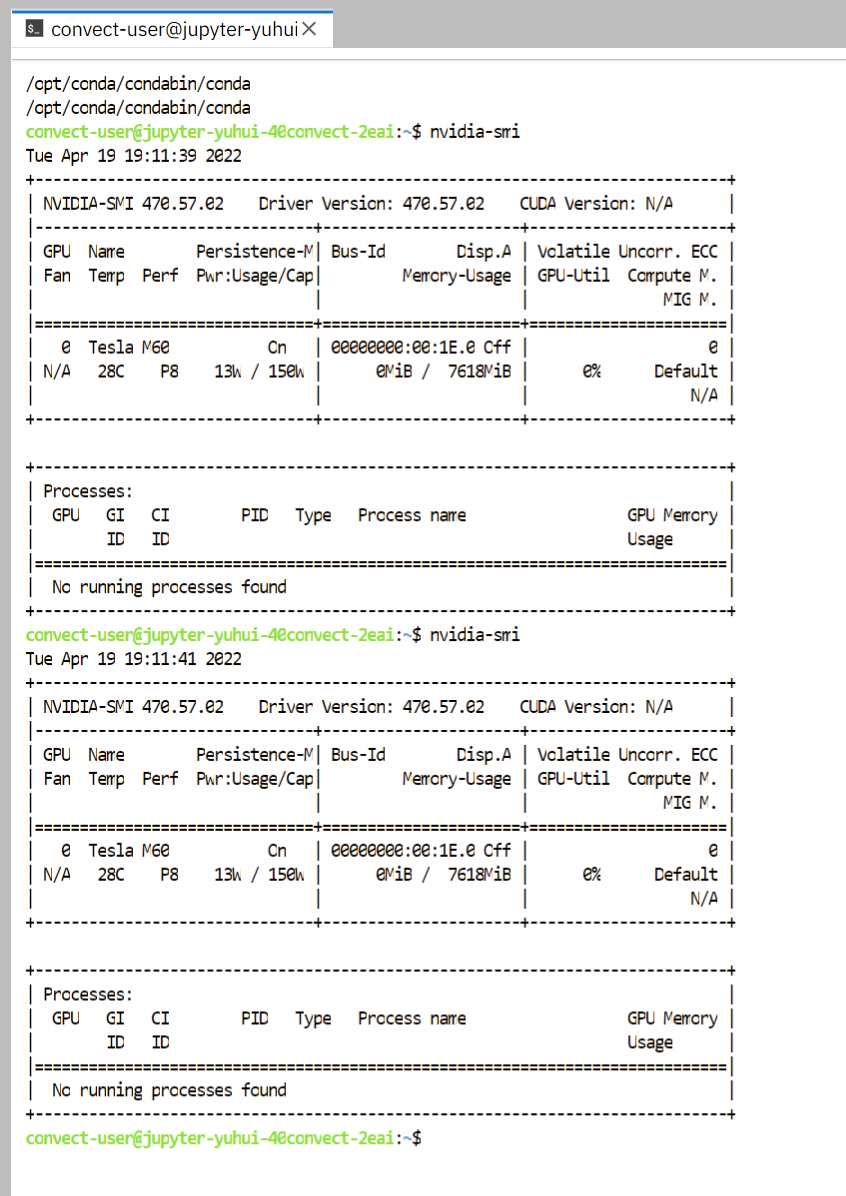
You can use conda to install cudatoolkit and frameworks that support GPU like pytorch or tensorflow to start running workloads on GPU.
Managing dependencies and environment
The managed Jupyter Server comes with pre-shipped python environments that include the most common used data science packages such as pandas, scikit-learn. To start using an environment as the Jupyter kernel, just choose it from the launcher.
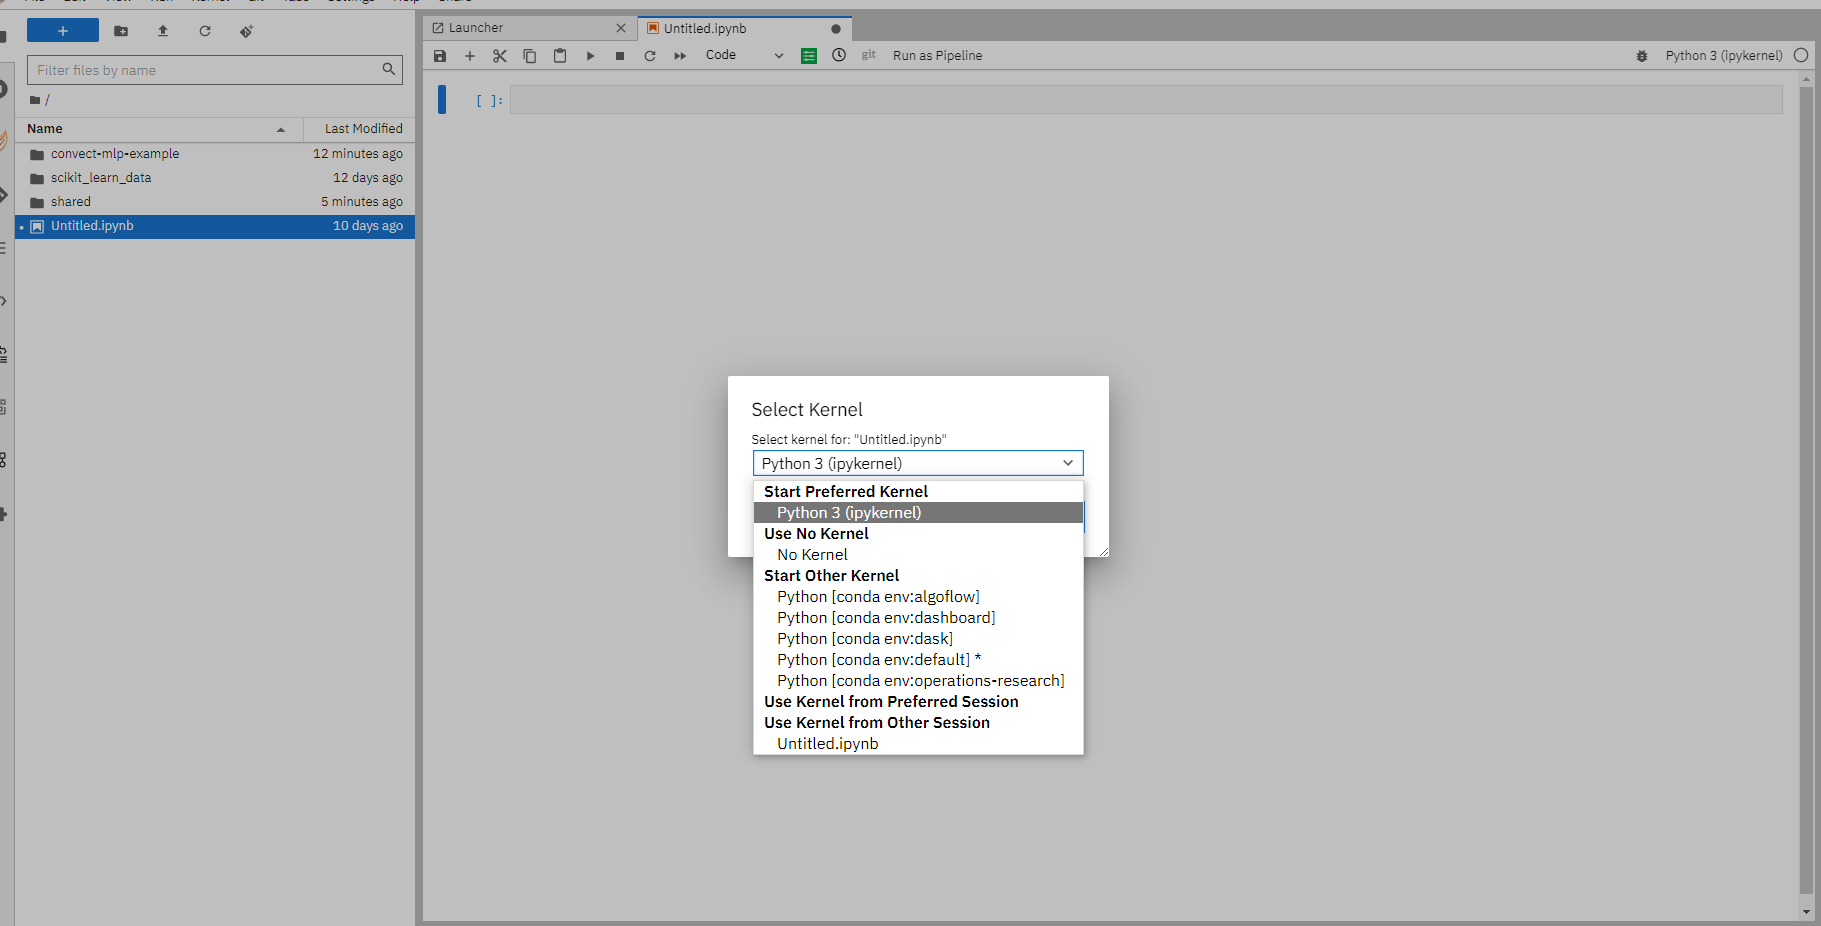
You can also change the kernel while editing a notebook by clicking on the upper right corner kernel indicator button and choose one from the dropdown menu.
You can install additional packages into the environment if needed. To do so, launch a terminal app from the launcher and use conda to install packages. For example,
conda activate default
conda install pytorch torchvision torchaudio cpuonly -c pytorch
You can also create new conda environnement by
conda create -n my-conda-env python==3.9
conda activate my-conda-env
# install more packages
conda install scikit-learn
Once created, the kernel will be available from the launcher automatically. To see more details on managing environments using conda, refer to conda’s doc.
Accessing remote data sources
To access remote data sources from your notebook server, you can use the same method when doing so from your local laptop. For example, to access data from a S3 source, run the following from your notebook
import os
os.environ["AWS_ACCESS_KEY_ID"] = "YOUR-AWS-KEY-ID"
os.environ["AWS_SECRET_ACCESS_KEY"] = "YOUR-AWS-SECRET-ACCESS-KEY"

data_path = "s3://PATH/TO/YOUR/REMOTE/FILE/data.csv"
df = pd.read_csv(data_path)
SSH and SFTP access
We allow remote access to your Jupyter Server Environment via SSH / SFTP.
To do so, request a new token from you control panel. This will serve as your password to the remote server.

Generate a new token
Then from your ssh client, use the following configuration
User=<The user displayed on the right upper corner>
Host=jhub.convect.ai
Port=8022
Password=<The token you generated from the last step>
For example,
$ ssh -o User=yuhui@convect.ai jhub.convect.ai  -p 8022
Warning: Permanently added the RSA host key for IP address '[54.188.2.122]:8022' to the list of known hosts.
Password:
/opt/conda/condabin/conda
/opt/conda/condabin/conda
convect-user@jupyter-yuhui-40convect-2eai:~$ echo 'I am on the remote server'
For SFTP access, the port number is 8023.
Alternative IDEs
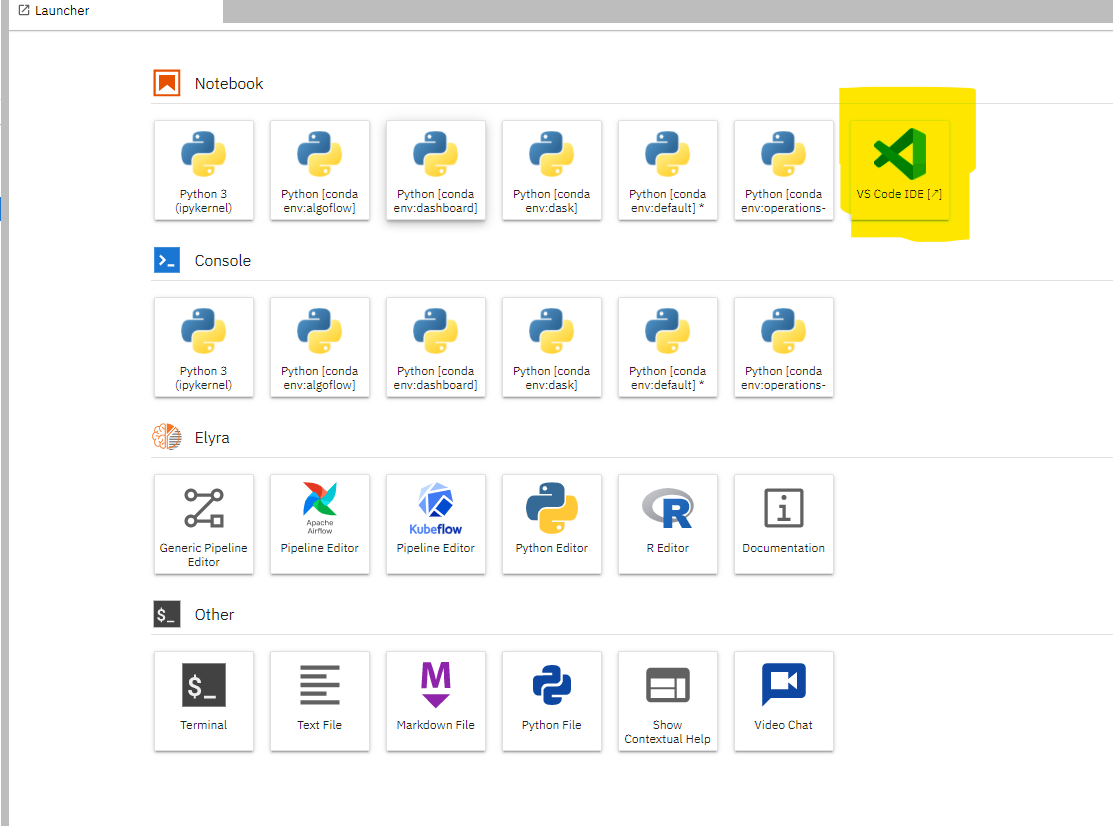
In addition to JupyterLab environment, we also provide alternative IDEs that can be started from the launcher. For example, you can start a VScode server from the launcher.
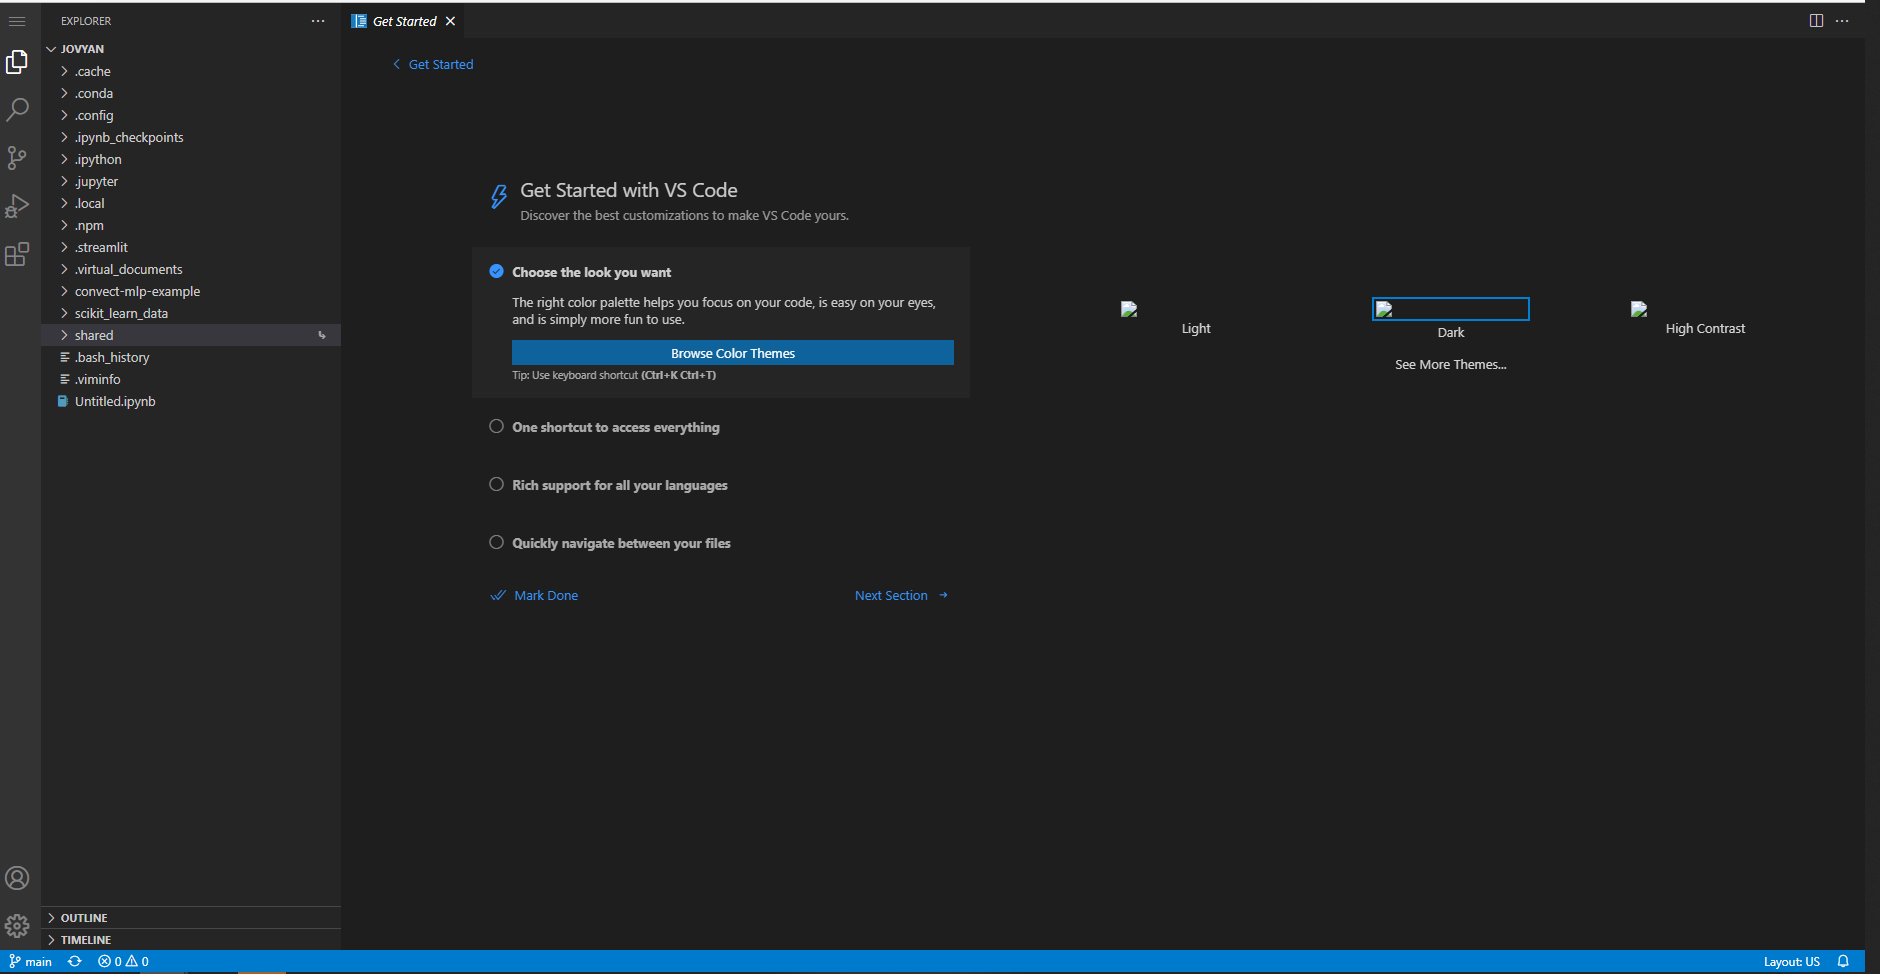
You will be automatically redirected to VSCode once it is started.
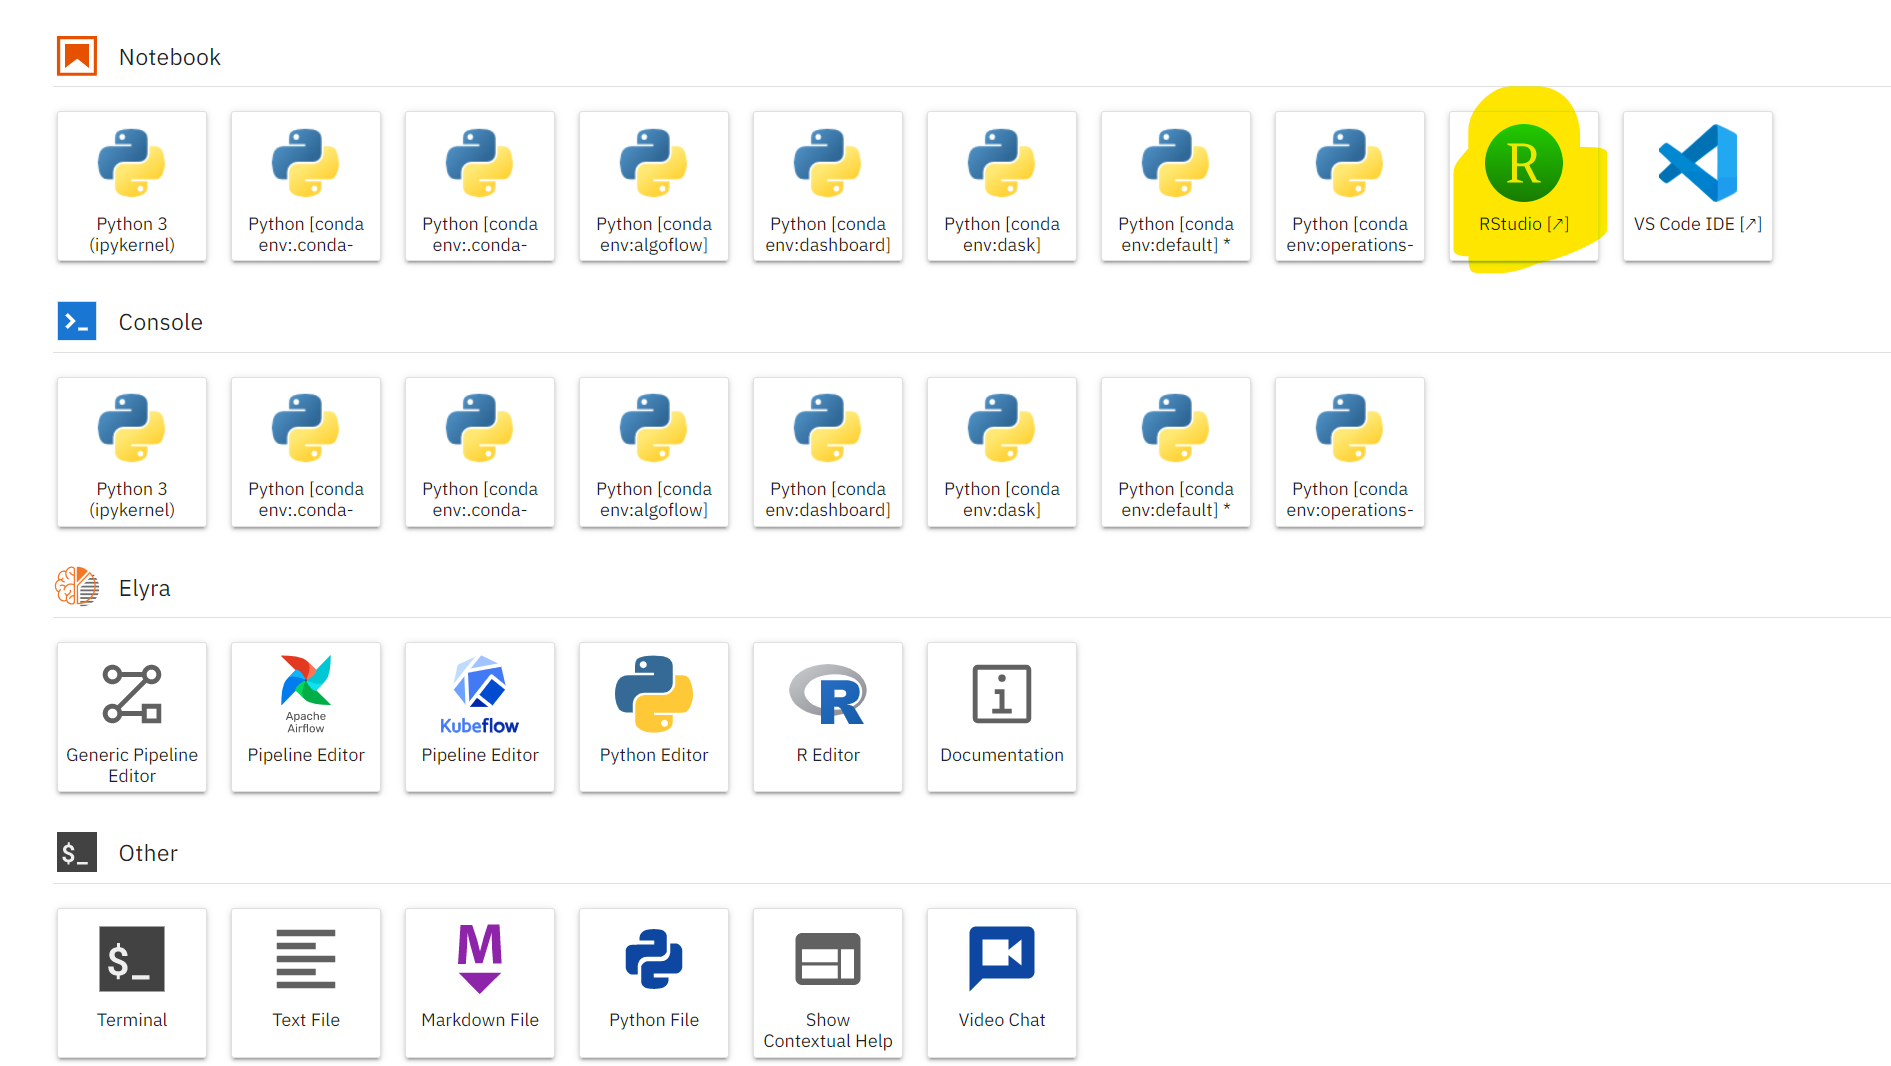
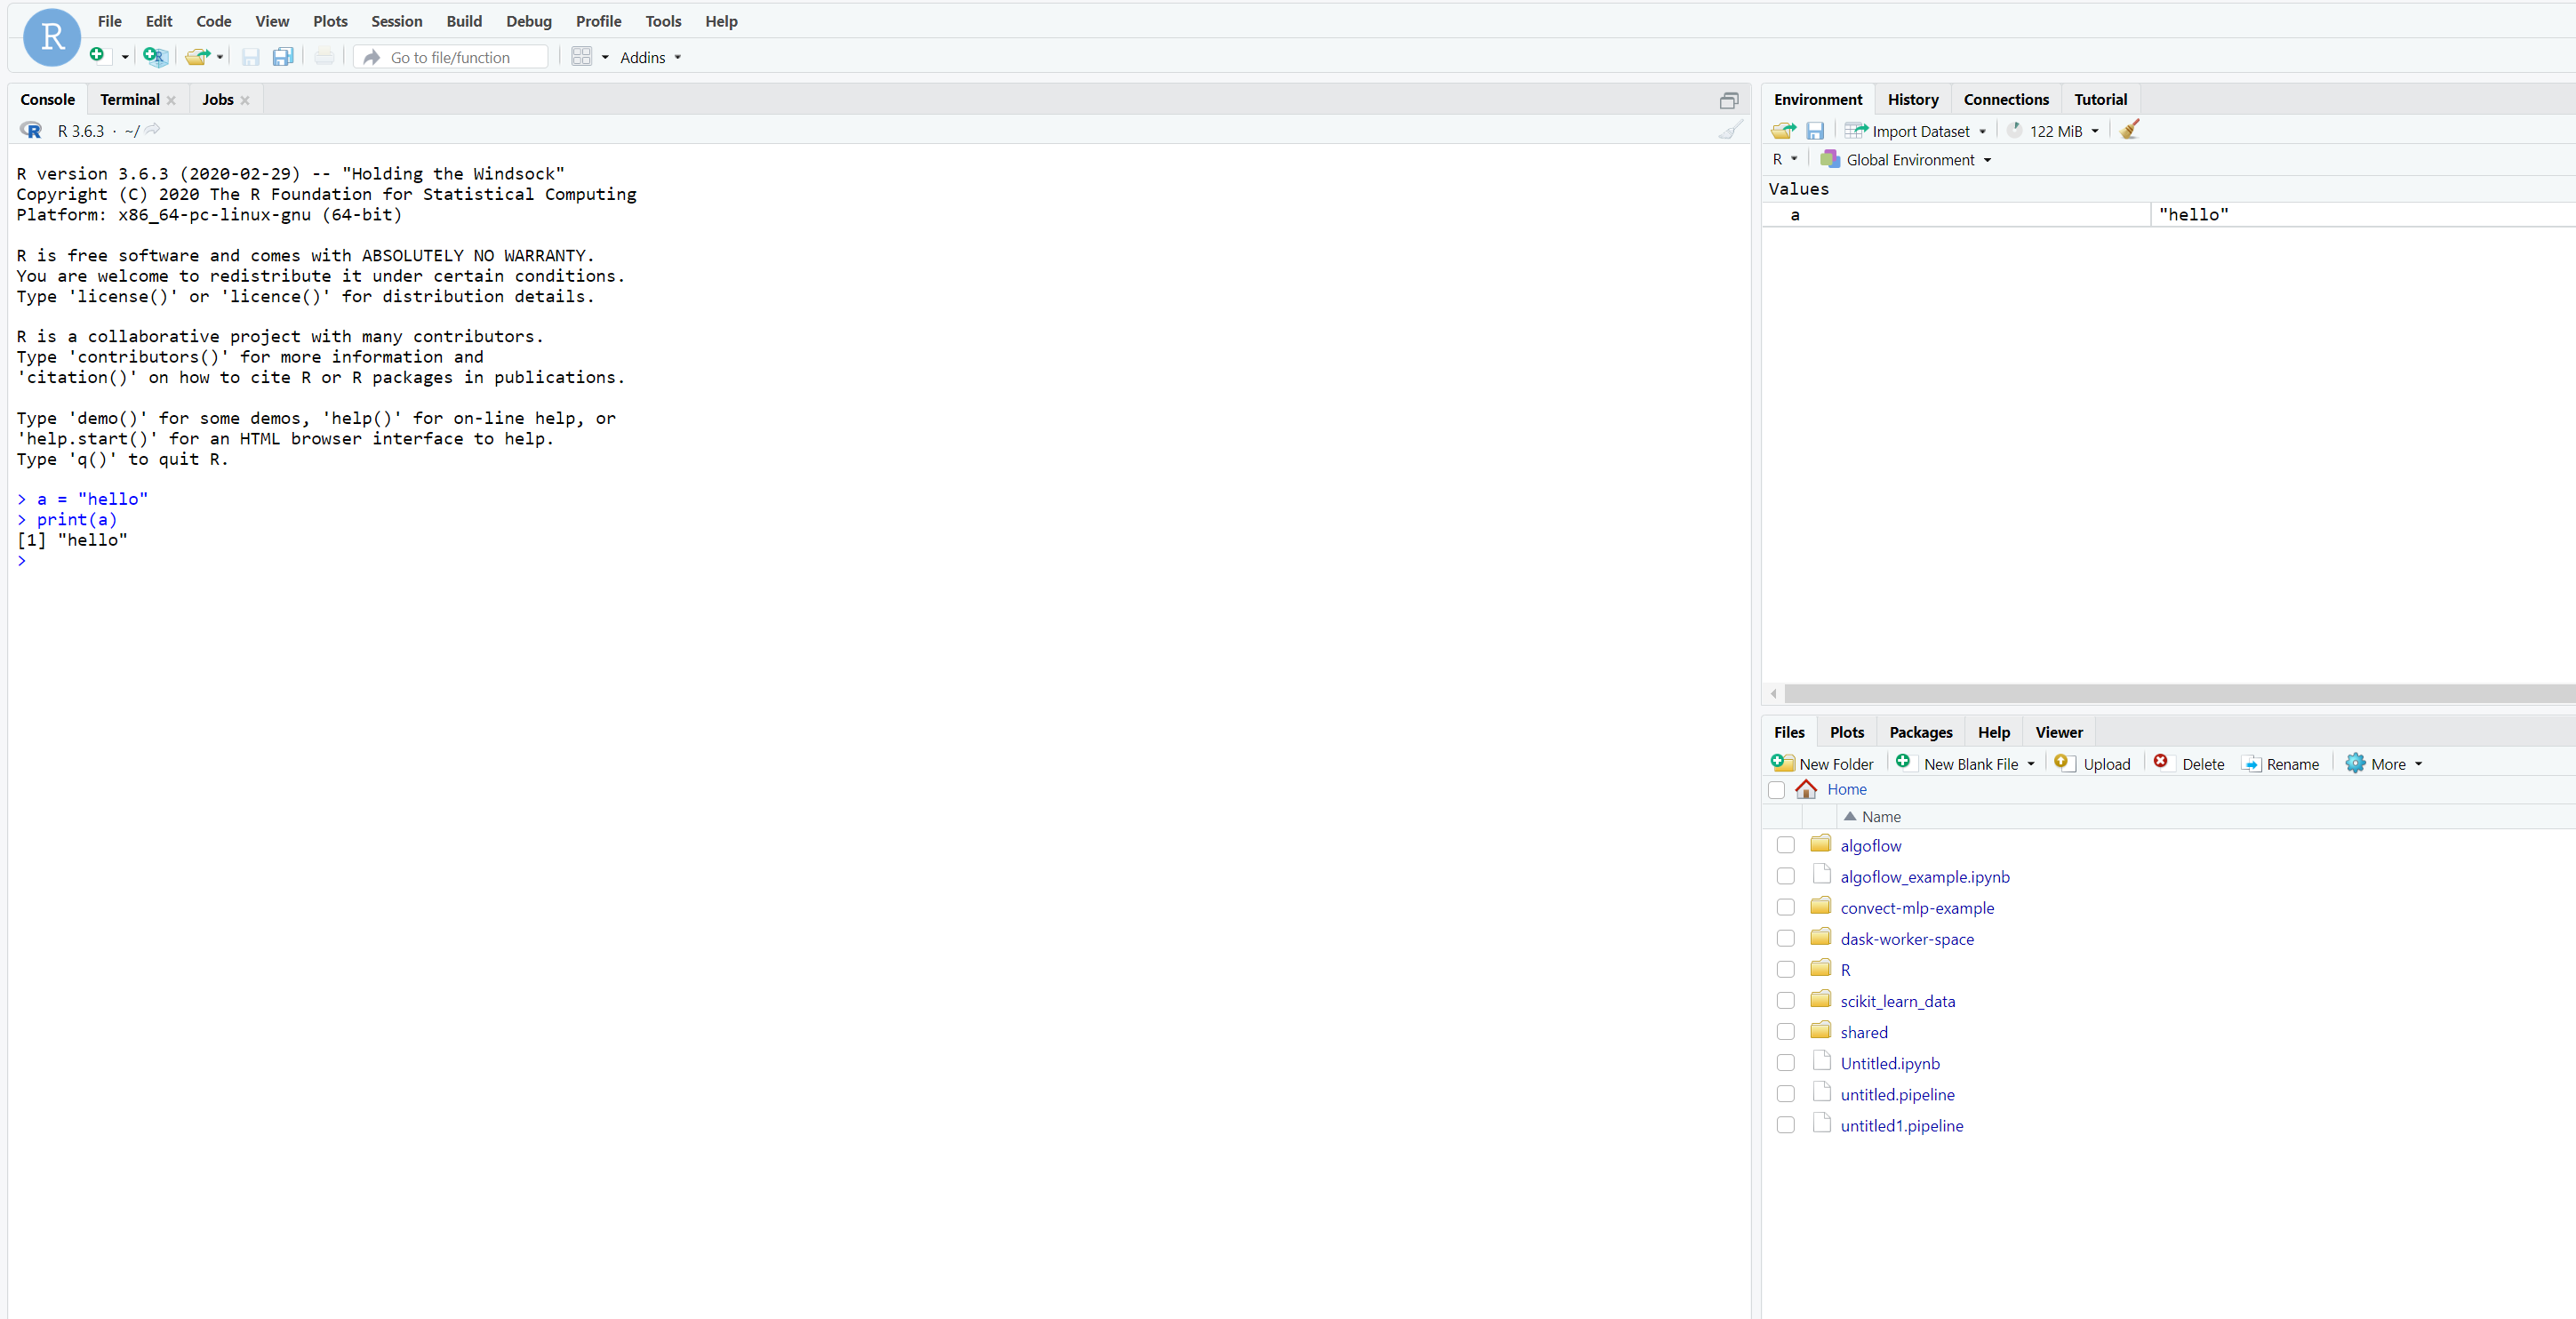
Rstudio is also supported. To launch one, choose Rstudio from the launcher.
You will be automatically redirected to RStudio once it is started.
Currently ssh remote plugins of VSCode and PyCharm is not supported. We encourage users to use the web-based IDEs mentioned above.
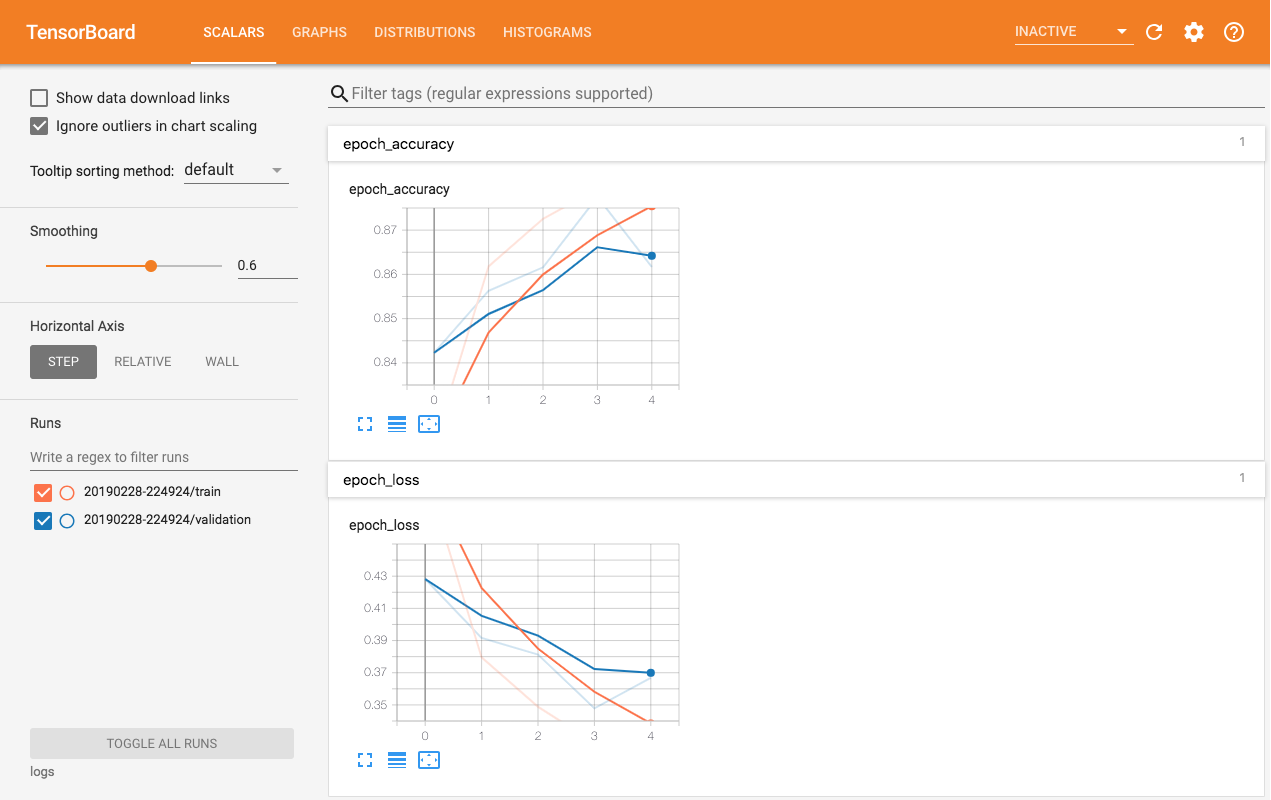
Using tensorboard
To use tensorboard in the JupyterLab environment, simply execute the below in a cell
%load_ext tensorboard

%tensorboard --logdir <YOUR_LOG_DIR>